
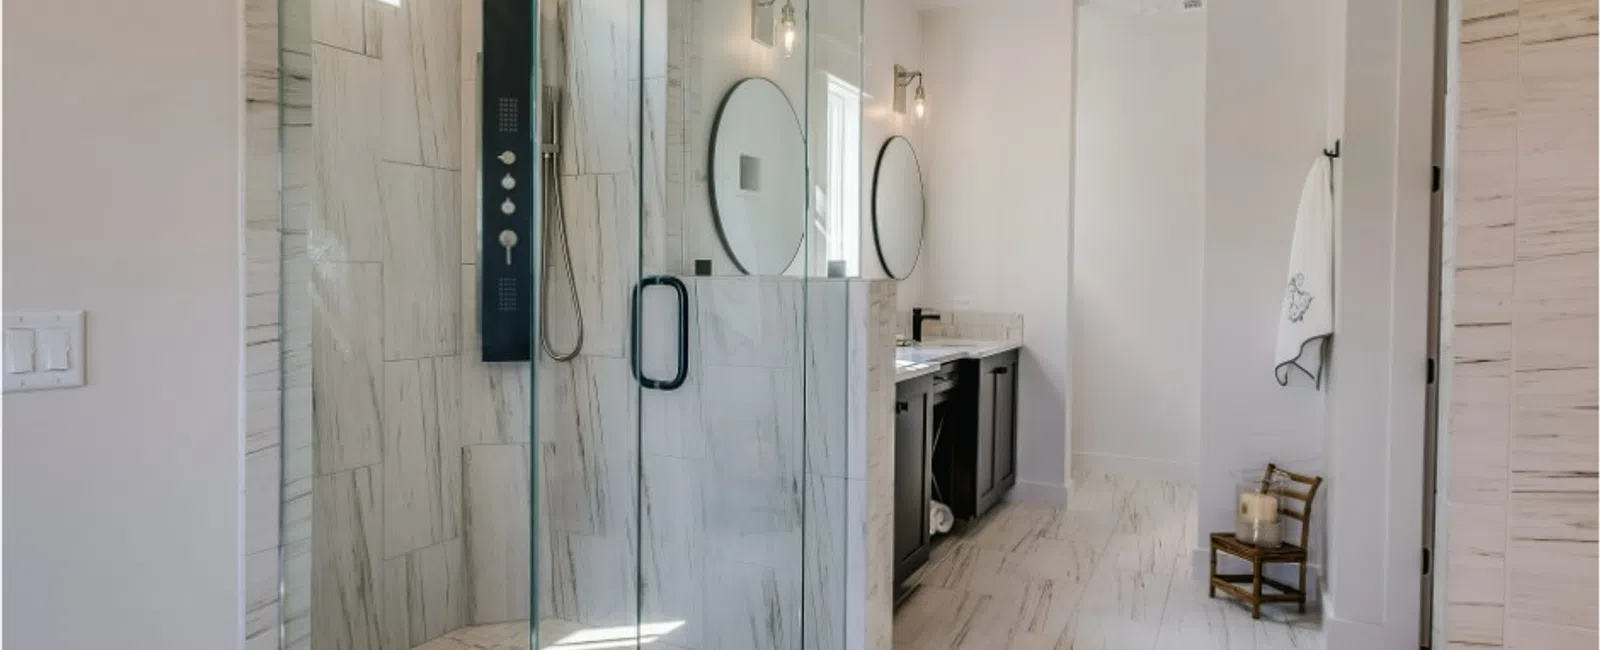
A bathtub-to-shower conversion removes the existing tub and surround and builds a walk-in shower in the same footprint. Done by a licensed contractor, the work runs from demolition through plumbing, waterproofing, tile or a solid surface wall system, a glass door, and trim. Most conversions in metro Atlanta homes take one to two days of installation once materials are on site, with the planning and ordering happening ahead of that.
The Difference Between a
Shower and a Bath Comes Down to Footprint and Use
A standard
alcove bathtub is 60 inches long and 30 to 32 inches wide, with a 1.5-inch
drain and a surround that rises to the tub rim or the ceiling. A walk-in shower
built in that same alcove has a lower threshold or none at all, a sloped floor,
a 2-inch drain, and walls that are waterproofed from the floor up rather than
from the rim up.
For the
homeowner, the difference shows up in daily use. A tub is harder to step over,
harder to clean behind a curtain, and rarely used for soaking in a secondary
bathroom. A walk-in shower is easier to enter, easier to clean, and feels
larger because the glass lets light through. The tradeoff is that a bath is
useful for small children, which is why the
decision should start with which bathroom is being changed.
Convert the Right Bathroom
First
If a home has
two or more full bathrooms, real estate agents usually advise keeping at least one tub. Families with young children look for one, and a home with no
tub at all can lose a segment of buyers. That makes the hall bath or the
primary bath the typical candidate, depending on which one the household
actually uses.
The primary
bathroom is the most common choice. It is where the homeowner showers every day, and it often has a garden tub nobody fills. A hall bath conversion makes sense
when the primary already has a separate shower or when an aging parent needs a
lower threshold on the main floor.
How to Replace a Bathtub
With a Walk-In Shower
The sequence
below is the same whether the finished shower is tile or a solid surface panel
system. What changes is the material stage near the end.
Step 1: Remove the Tub and Surround
Demolition
takes the surround down to the studs and pulls the tub out. A cast iron tub is
broken up in place because it is too heavy to carry out whole. A fiberglass or
acrylic tub is cut and removed in sections. The drain and overflow are
disconnected, the supply lines are capped, and the water is shut off at the
stops or the main.
Step 2: Inspect What Was Behind the Wall
This is the
step one-day liner companies skip, and it's why a contractor opens
the wall instead of covering it. Behind a tub surround that has been in place
for twenty years, it is common to find water damage at the bottom plate, soft
subfloor at the drain, mold on the back of the drywall, or a shower valve that
has been leaking into the wall cavity. All of that gets repaired before
anything goes back in. If the framing is sound, this step is a quick check. If
it isn't, catching it now can be the difference between a shower that lasts and
one that fails in a few years.
Step 3: Rough In the Plumbing
A tub drain is
typically 1.5 inches. The plumbing code commonly adopted across Georgia requires a 2-inch trap and drain for a shower, so the drain line is upsized, and the trap is relocated to the center of the new shower floor or wherever the pan design puts it. The shower valve usually stays where it was, though many
homeowners raise the showerhead at this point since the old height was set for
a tub. If the layout moves the drain or supply lines, that's usually when a plumbing permit is required.
Step 4: Build the Pan and Waterproof the
Walls
The shower pan
is either a prefabricated base set in mortar or a custom sloped mortar bed with
a bonded waterproofing membrane. The walls get cement board or a foam backer
board and a continuous waterproofing layer that laps into the pan. This stage
is the whole reason a tile shower holds up. Grout is not waterproof, and the
membrane behind it is what keeps water out of the framing.
Step 5: Install the Walls, Floor and Niche
Tile goes on
after the membrane cures. A solid surface or acrylic panel system is set
directly over the backer in large sheets with sealed seams. Either way, this is
where the shower niche, the bench, and any grab bar blocking get built in. Grab
bars need solid backing in the wall, which is easy to add while the studs are
exposed and difficult to add afterward.
Step 6: Set the Glass, Fixtures and Trim
The glass door
or panel is measured after the tile is finished, since the opening is never
perfectly square. Fixtures, the drain cover, and the trim kit go on, the room
is caulked at every change of plane, and the baseboard and any flooring patch
at the old tub apron are completed. The shower is usable once the sealants
cure, which is typically the following day.
Curb, Curbless or Low
Threshold
A curbed shower
has a short step over at the entry, usually a few inches, and is the simplest
to build because the pan sits on top of the existing subfloor. A low threshold
base reduces that step to an inch or so for easier entry. A curbless shower has
no step at all. It requires recessing the pan into the floor or building the
surrounding floor up, so it is the most involved of the three and depends on
the joist layout under the bathroom.
For aging in place, curbless is the goal when the structure allows it. For a hall bath with limited budget and no accessibility need, a curbed shower delivers the same daily benefit for less work. We look at the floor framing during the estimate and tell the homeowner which options are realistic in that room.
When a Permit Is Required
Swapping a tub
for a shower in the same location, with the drain and valve staying put, is
often treated as a like-for-like replacement that does not need a permit. Once
the drain is relocated, the supply lines are moved, or the floor framing is cut
for a curbless pan, most metro Atlanta cities and counties require a plumbing
permit and sometimes a building permit. Electrical work for a new exhaust fan
or lighting adds an electrical permit.
Requirements vary by jurisdiction, and the homeowner is the one on the hook if unpermitted work shows up during a sale. A licensed general contractor pulls the permits as part of the job and schedules the inspections so the homeowner does not have to.
What to Expect From a JMJ
Bathtub to Shower Conversion
JMJ Construction Group handles the full bathtub removal and shower installation as a licensed Georgia general contractor, including the permit, the plumbing, the waterproofing, and the finish. Cost depends on the size of the bathroom, the wall material, and options like a bench, niche, or grab bars, and the quote covers all of it with no hidden fees. For homeowners across metro Atlanta who want to convert a tub to a walk-in shower, that is where the project starts. If the conversion is part of a larger project, the bathroom remodeling page covers the full scope, and our post on how long a bathroom remodel takes sets expectations for the schedule.
Request a free estimate from JMJ Construction Group today.
Frequently Asked Questions
Can you replace a bathtub with a walk-in
shower in the same space?
Yes. A standard
60 by 30 inch tub alcove is larger than the minimum shower size in the
residential code, so the shower fits the existing footprint with room to spare.
Many homeowners keep the exact alcove and only change the drain, waterproofing
and walls.
How long does a tub to shower conversion
take?
Most
conversions are installed in one to two days once materials are on site. Tile
showers need extra time for the waterproofing and thinset to cure between
stages, so a tile conversion can run a few days longer than a panel system.
Planning, material lead times and permit timing happen before installation
starts.
Do I need a permit to convert a bathtub to
a shower in Georgia?
It depends on the scope and the jurisdiction. A same-location swap with no plumbing changes is often exempt, while moving the drain or supply lines, cutting floor framing, or adding electrical usually requires a permit. Your contractor should confirm with the city or county and pull the permit as part of the job.
Can I add a tub back to a walk-in shower
later?
Yes. The shower is removed, the drain is rebuilt at tub size, the subfloor is brought to the right height if the pan was recessed, and a new tub and surround are installed. It is the same project in reverse.